

It is possible that you do not have an executable version for your operating system or hardware architecture or to make modifications to the source code. If this is the case, you can find information here on how to build an executable version from the source code.
Versions
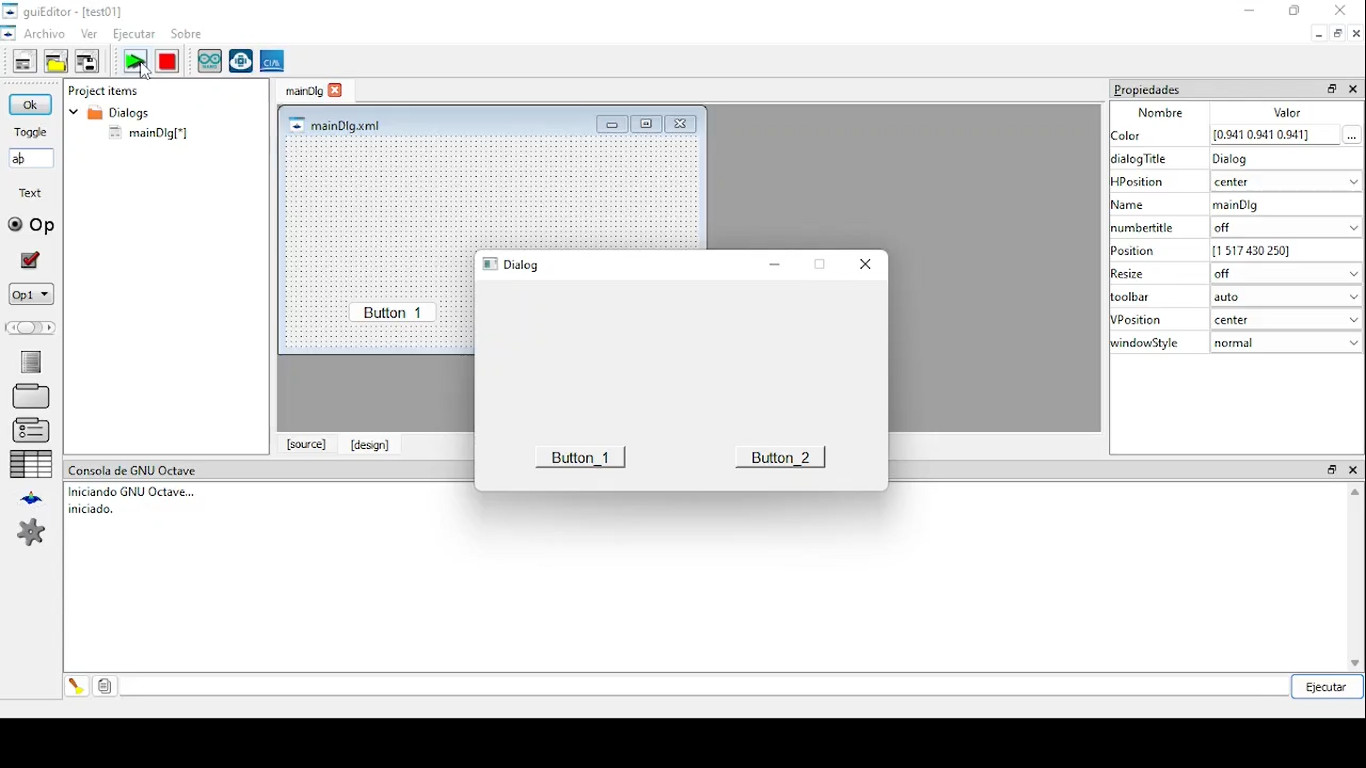
A first detail to consider are the existing versions of guiEditor. At this moment, there are 3 versions, namely:
- Stable Version 1: This is the original version of guiEditor, with binary versions available for MS Windows, Ubuntu Linux 20.04, and through the Snap platform.
- Stable Version 2: The main change from Version 1 lies in the graphical interface, as it allows working with tabs for editing graphical aspects as well as the source code of script files.
- Version 3 in development: This version includes significant changes compared to the previous versions as it incorporates the possibility of having multiple callbacks associated with each control. Currently, it is under development and testing, so if you wish to evaluate it, your feedback will be welcome. Although it allows opening projects made with the two previous versions, it modifies them irreversibly to adapt them to the new features. During the year 2024, it will become the next stable version.
All versions, except for some minor details, can be built in the same way.
Requirements
The first step is to ensure that we have the Qt development environment, which can be downloaded for free for open-source application development from their website https://www.qt.io/offline-installers. Specifically, I suggest working with version 5.12.12, which can be downloaded from https://download.qt.io/archive/qt/5.12/5.12.12/qt-opensource-windows-x86-5.12.12.exe

The development environment can use different compilers to build applications. Among the options are mingw32 and/or mingw64. These are versions of GCC (an open-source C and C++ compiler developed and maintained by GNU) for Microsoft Windows. Therefore, unless we use another compiler, we should indicate that we want to use this tool during the installation process. And while it may not be essential, it is recommended to select additional tools for application development using the mingw suite. In conclusion, the options we should select in the list of components to install should be as shown in the image.

After completing the installation, we can find a group of applications called Qt, where we will find icons corresponding to the different applications. Qt Creator is one of the tools for application development.

If we run the ‘Qt Creator’ application, we will launch the development environment where we can create native applications for MS Windows. However, for our case, to simplify the build process, we won’t do this. Instead, when the time comes, we will use the system console to build guiEditor.
Source code
The next step is to download the source code of the version we want to build. Here, I will take as an example stable version 2, which can be downloaded from the main page of the site. Once the file is downloaded, we should unzip it.
It is important to avoid possible errors by ensuring that there are no spaces or special characters in the path where the source code is located. Therefore, I recommend creating a folder on the disk drive (for example, c:\guiEditor) and unzipping the source code there. Once this is done, we should observe a directory structure like the one shown in the figure.

Building the application
Now we will continue from a Qt terminal, which we should run from the corresponding program group. Upon running it, we will see a terminal window appear:

From this terminal, we will execute the following commands:
cd C:\guiEditor\guieditor_2.0.0-source\src
mkdir build
cd build
qmake ../guiEditor_ii.pro -config release -recursive
mingw32-make
cd ..
mkdir guiEditor-bin
cd guiEditor-bin
copy ..\build\guiEditor\release\guiEditor.exe .
copy ..\build\guiEditor\guiEditor_*.qm .
windeployqt guiEditor.exe
With this, we have completed the guiEditor construction process, and we will find all the required files for its execution in the guiEditor-bin folder. This folder can be moved to any desired location to keep the application. As for the folder containing the source code and where the application was built, it is no longer necessary to maintain it.
Initial Configuration
While not essential, it is recommended to have three applications installed on the computer running guiEditor:
- GNU Octave: Having this application installed allows running applications while developing them. When an application developed in guiEditor is executed, it generates the script code of the application and executes it by invoking GNU Octave in the background.
- tar and gzip: Developed applications can be distributed as packages to be executed from GNU Octave, requiring nothing more than the file that constitutes the installation package. Building these packages requires packaging and compressing the application using the formats produced by these tools.
All these applications have versions for the Microsoft Windows operating system and are available in most GNU/Linux distributions. In the case of GNU Octave, the Windows version can be downloaded from its main page. For tar and gzip, there are different alternatives. One of them is the GNU Win project, which offers different packages of open-source source code tools built for Microsoft Windows (https://gnuwin32.sourceforge.net/). The direct links to the files of interest are:
- https://gnuwin32.sourceforge.net/packages/gzip.htm
- https://gnuwin32.sourceforge.net/packages/gtar.htm
The simplest way to install these applications is to download the binaries (and dependencies in the case of tar) in zip format and unzip all the files into a folder. Then, in the ‘bin’ folder, we will find the tar.exe and gzip.exe files. To verify their proper functioning, we could open a system terminal, access the bin folder where they are stored, and execute them.
Afterward, we can configure guiEditor. This can be done either during the first run of the application or at any time through the ‘File/Config Wizard’ option.
On the first screen, we can choose the language, and then we can indicate the path to the GNU Octave executable:

In some cases, it is necessary to specify the path to plugins included in the GNU Octave distribution. This is not generally required, but on some systems, it may be necessary. If the GNU Octave binary is located in the path indicated in the previous figure, we will find the plugins folder at C:\Program Files\GNU Octave\Octave-8.2.0\mingw64\qt5\plugins.
In the next window, we should indicate the paths to the tar and gzip binaries, as shown in the figure:

With this, we have completed the application configuration process! You can now start using it!